apps sdk
Deep Diving into Positioning, Part 1 - The Overview
Learn about to position elements and groups in apps on Canva.

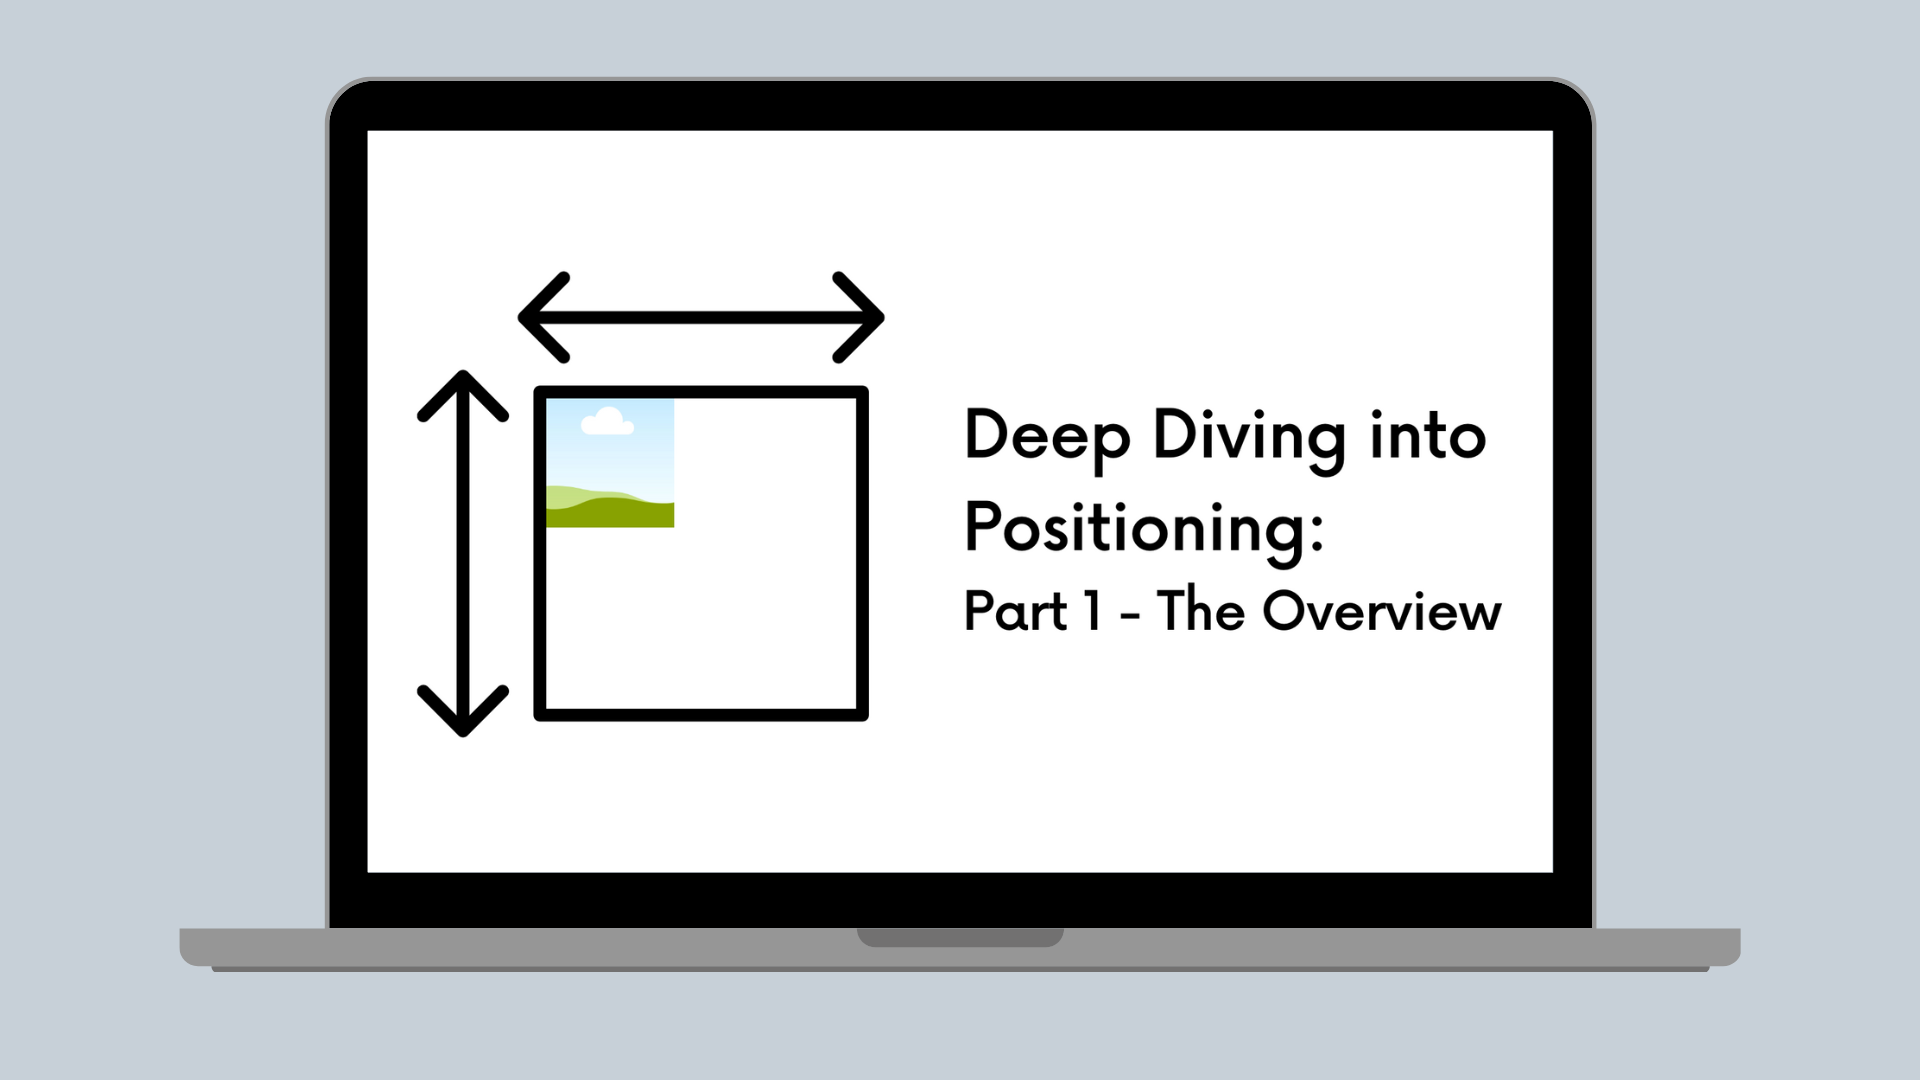
With so many new APIs rolling out for the Apps SDK, we’re unlocking abilities to create more complex groups for new pages for all your apps to create designs programmatically. As part of this programmatic design group or page creation, you might need to place items in certain places. In the Apps SDK, you can find an example(opens in a new tab or window) app for positioning single elements in the corners of a page, or guides on placing elements in pages and groups. But sometimes, trial and error is the best way to learn. Let’s look at positioning in more detail to help navigate how you might place elements in a design or group.
The first thing to consider when positioning is the bounds of the page or group you’re working with. Looking at pages first, you can retrieve this information using the getCurrentPageContext method, which returns the height and width of a page in pixels. Although you or a user might have selected page dimensions in other units, such as inches, centimeters, or even aspect ratios, it’s important to remember that we use pixels for all positioning with the Apps SDK. It might be beneficial to load the page dimensions on app initialization, so they’re readily available when you need them. Be aware that unbounded designs (like Whiteboards(opens in a new tab or window)) don’t return dimensions. Instead, they return undefined.
import {getCurrentPageContext,} from "@canva/design";const pageContext = await getCurrentPageContext();
When positioning singular elements on a page, it’s helpful to keep track of the element’s size. If you want to place the element somewhere along the bottom of the design, you need to set the dimensions to offset for the image size. Consider placing an image in the bottom right corner of a design, as done in the Positioning Elements example.
case ElementPlacement.BOTTOM_RIGHT:return {top: pageDimensions.height - elementSize,left: pageDimensions.width - elementSize,width: elementSize,height: elementSize,rotation: 0,};
When placing, remember that you’re placing based on where you want the top left corner of the element to land. If you want to place the element touching the bottom and right, you need to set the top left corner at exactly the element’s size (in Pixels) away from the edges. You can calculate that as shown in the example: the page height minus the element height, and the page width minus the element width.
When placing elements inside of groups, it's a bit more complicated. The pixels inside of a group are now relative. If you need an element to sit at precise pixel coordinates, it’s best to place each individual element instead of trying to create a group with all of them inside.
When placing elements in a group, it’s also best to size the group appropriately for the elements inside. If you try to size the group to fill the page, or a larger area, you might find things don’t fit correctly.
Groups with defined size and positioning properties (height, width, top, and left) also require that the box encompassing the group has the same aspect ratio as the elements inside the group. This means you can’t place a square element in a circular hole 😅. For all text element groups, this means you shouldn’t define a height for the group because text elements are auto-sized for height based on the content, width, and font size. You’ll always run into an aspect ratio constraint error when you try to define the height of a group and the group contains only text elements.
addNativeElement({type: "GROUP",children: [{type: "TEXT",children: ["TITLE,"],width: 100,top: 0,left: 0,},{type: "TEXT",children: ["Subtitle"],width: 100,top: 50,left: 0,},],width: 100,height: 100,top: 0,left: 0,});

This is why keeping group sizes relative to the actual elements that make a singular element, and not a whole design, is important.
In the coming weeks, as part of this series, we’ll look deeper into placement inside groups and some more best practices around positioning. Do you have a specific topic you want us to cover around positioning? Drop a comment in our community(opens in a new tab or window)!


